

 United States (en)
 Germany (de)
 Austria (de)
 France (fr)


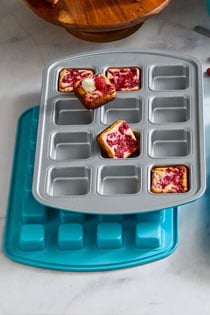
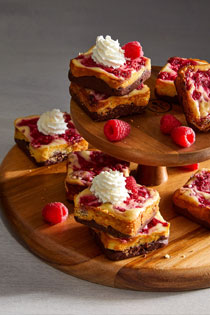
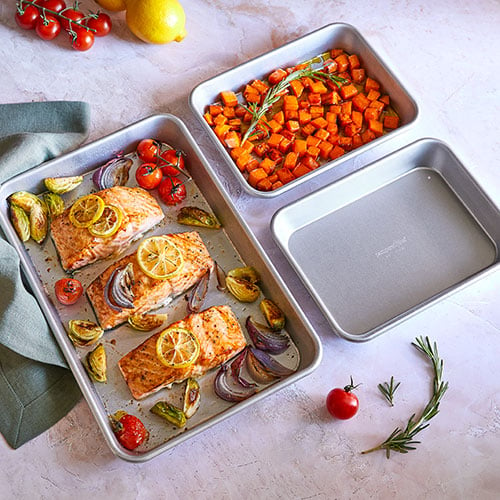
Sweeten Your Celebrations
Save 15% on select high-quality nonstick bakeware that makes it easy to bake treats for all your spring gatherings.

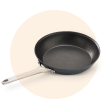
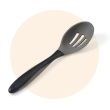
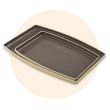
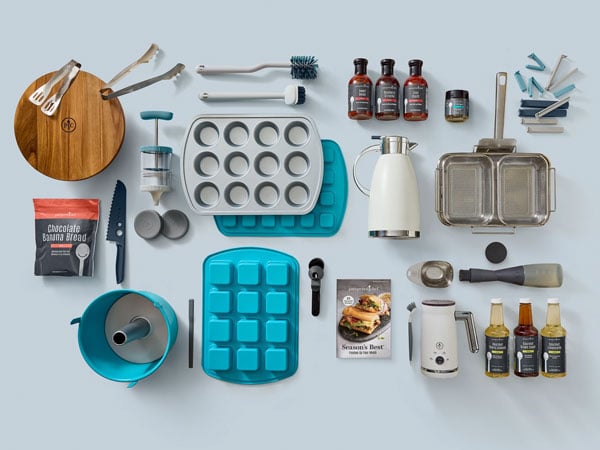
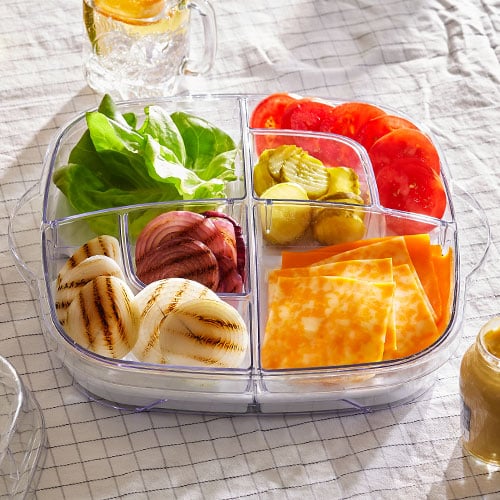
Shop By Category

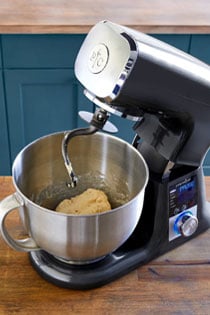
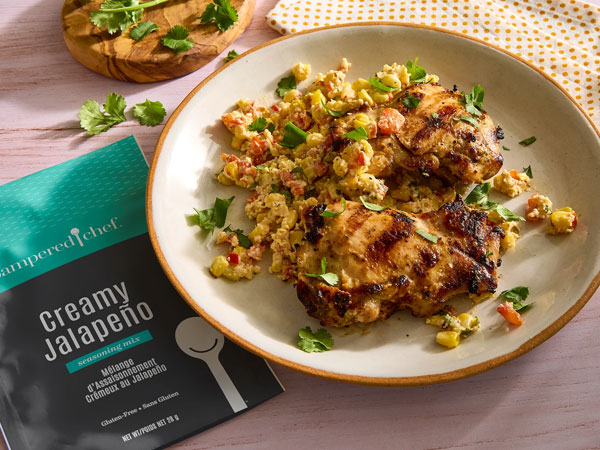
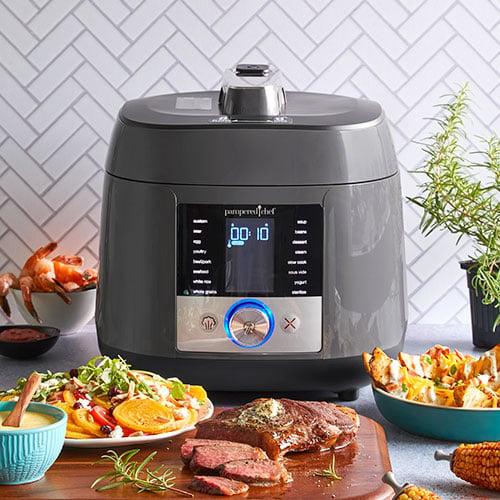
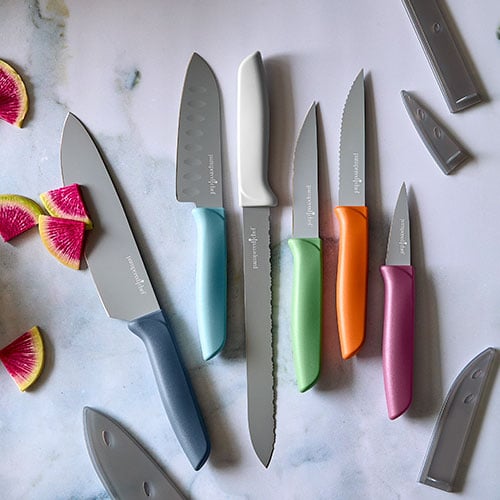
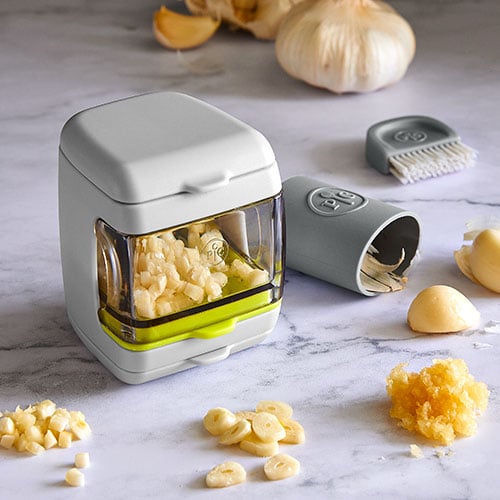
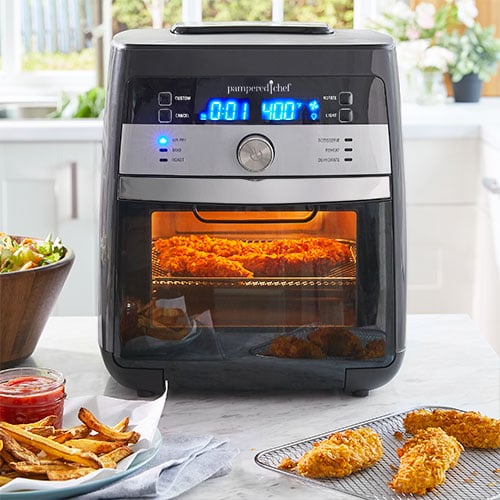
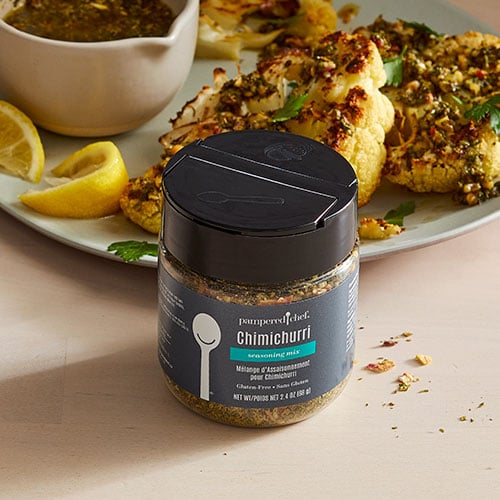
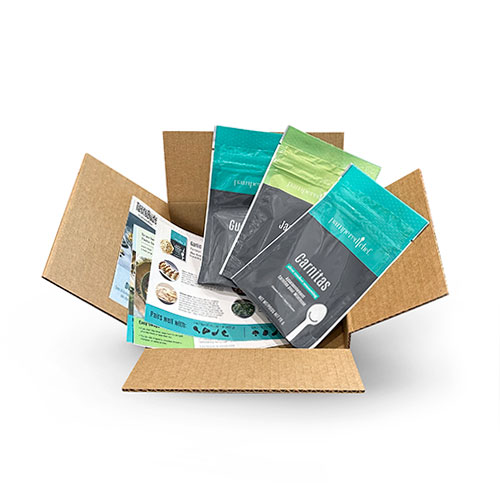
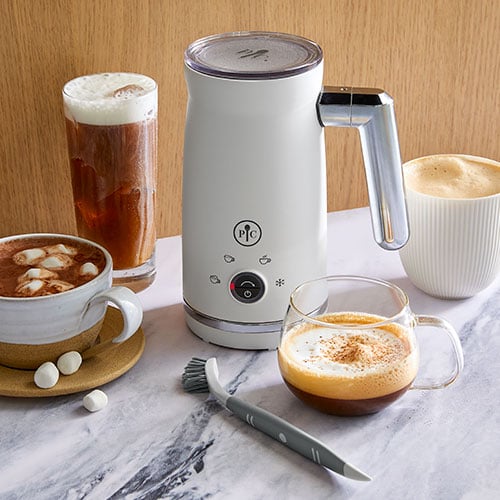
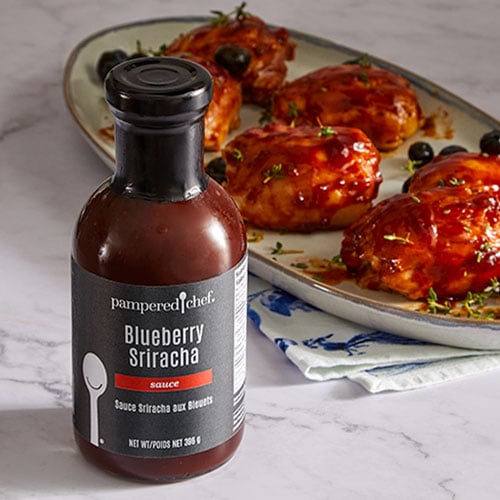
Featured This Month
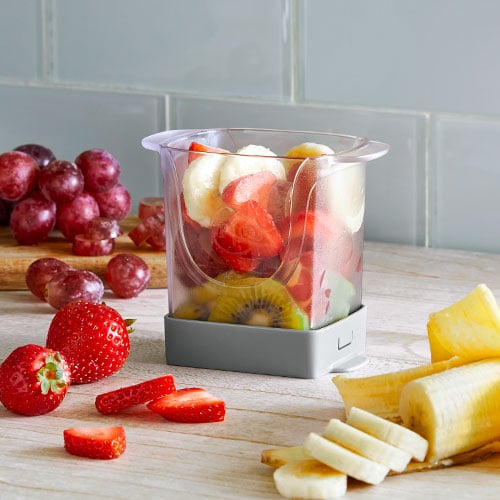
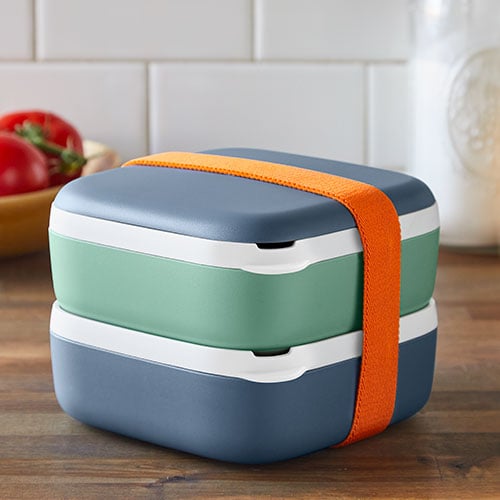
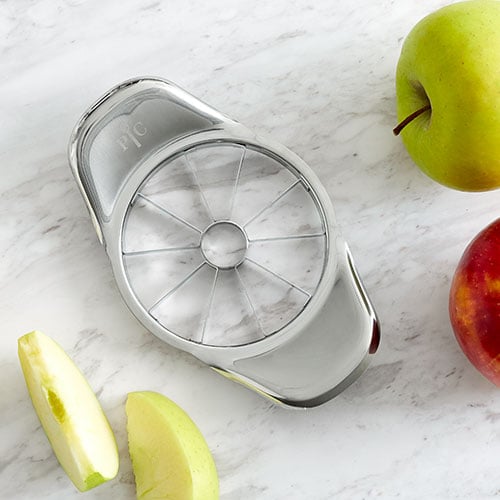
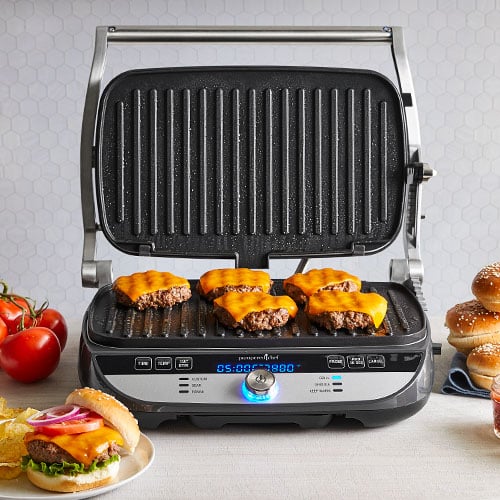
Mealtime Can Be Hard
Our products help make ideal mealtimes possible with the realities of today.
SHORT ON TIME
PICKY EATERS
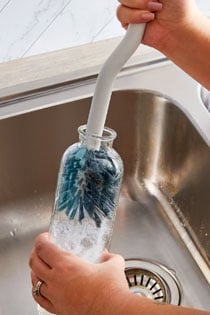
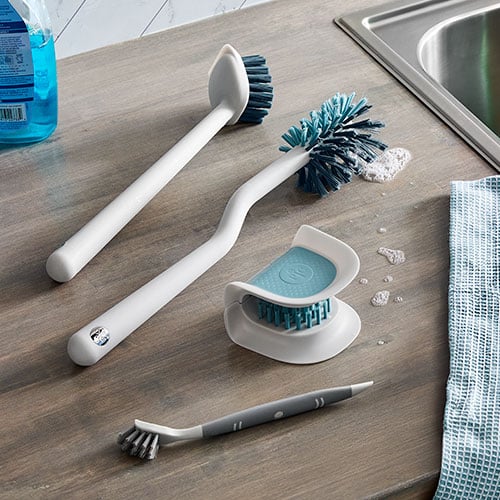
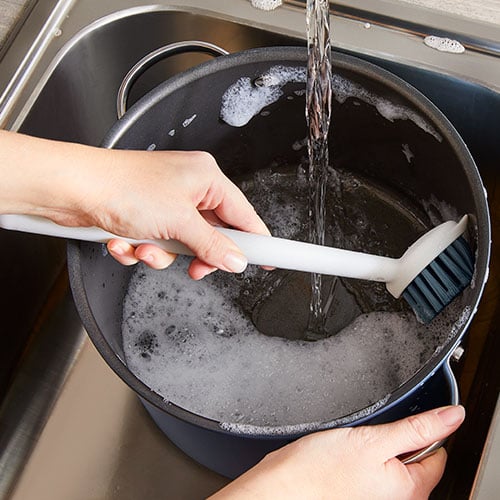
EASY CLEANUP
ON A BUDGET
IN A COOKING RUT

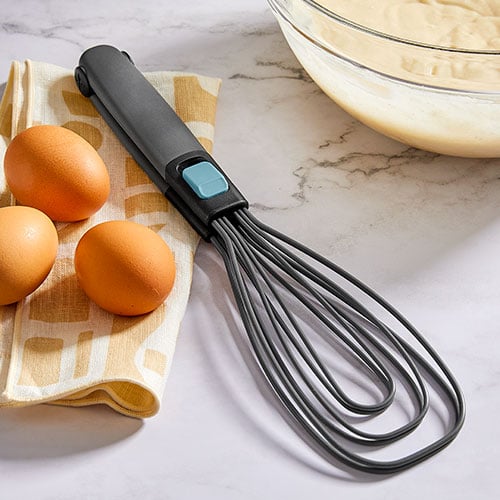


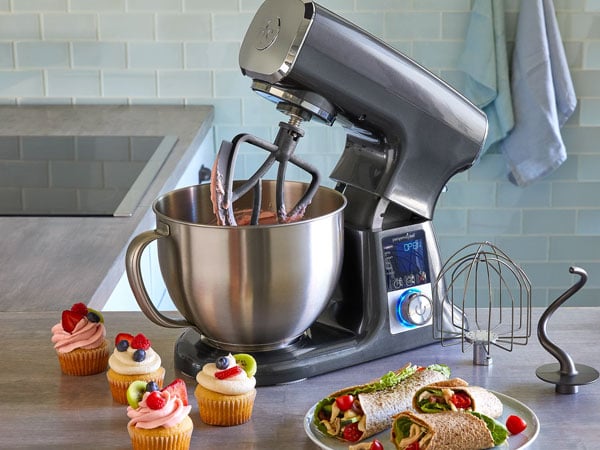
Let's Get Cooking
Sharing a meal is a chance to refuel and reconnect. We make mealtime more enjoyable and relaxed—no matter your cooking skill.


